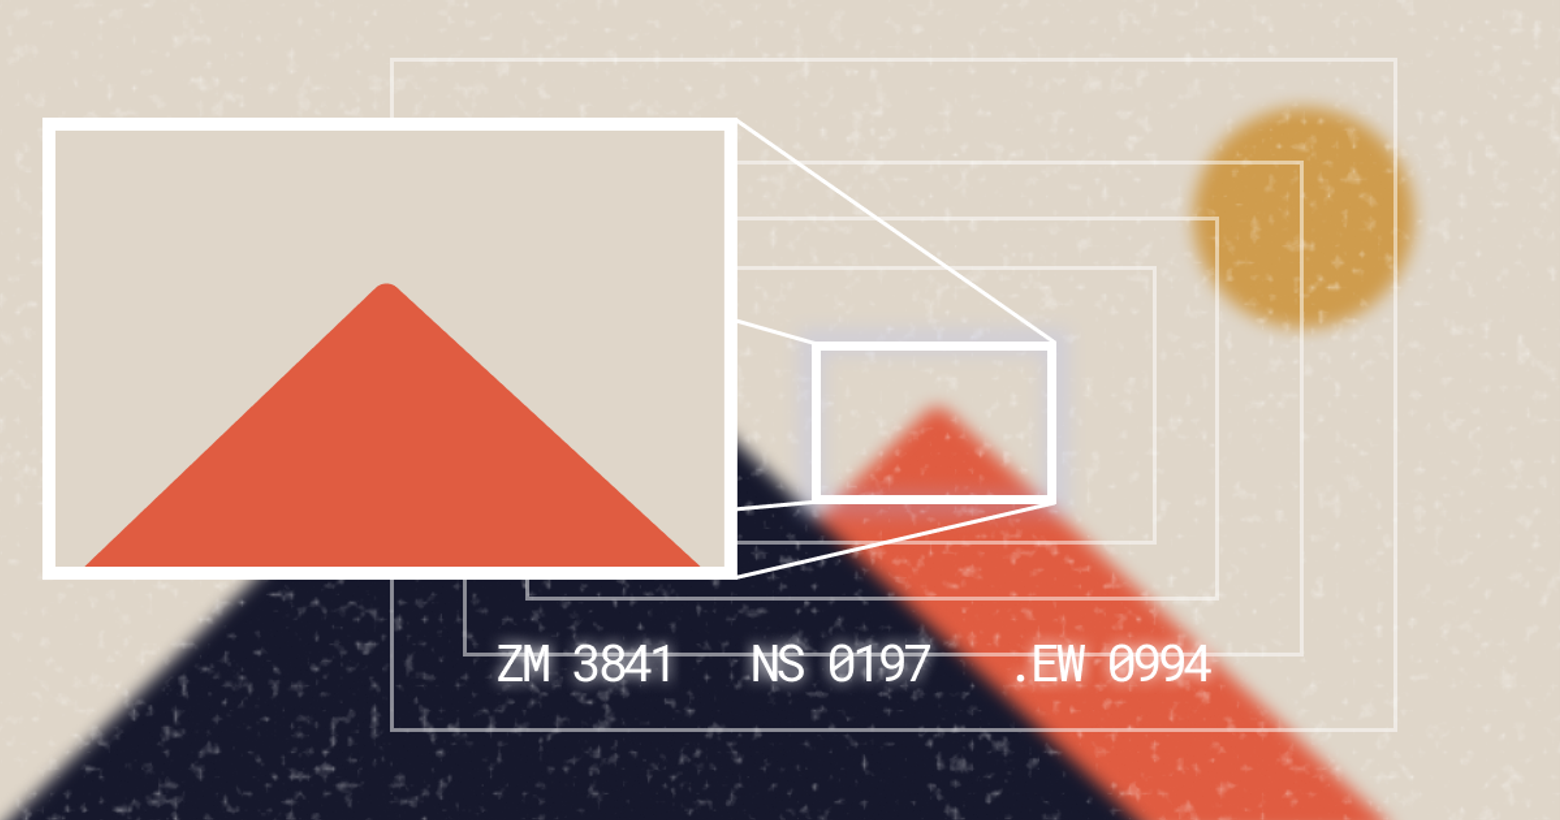
For decades, science fiction has dreamed of a world in which technology can make the incomprehensible into the visible. Across alien epics and procedural crime dramas, detectives and truth seekers have repeated the mantra: zoom and enhance. It’s passed into popular culture as a much-beloved meme, but in recent years, machine learning has increasingly made this fiction trope into an accessible reality.
The image net competition is a long-running tournament that tests artificial intelligence systems on their ability to recognize an object, say a cat, dog, car, or street lamp. 2012 is considered a milestone year, when researchers used techniques based on neural nets used to cut the error rate in half at the annual ImageNet competition, far above the performance of previous systems. In the years that followed, this approach produced rapid gains, with the most recent systems approaching 99% accuracy.
Through enormous volumes of trial and error on massive sets of data, These systems learn to see patterns in the pixels. It’s a technique that allows them to make an educated guess about images that are too dark, too blurry, or have something blocking the main subject. Machine learning systems make their best guess at what the image would, or perhaps should look like, often with astonishing results.
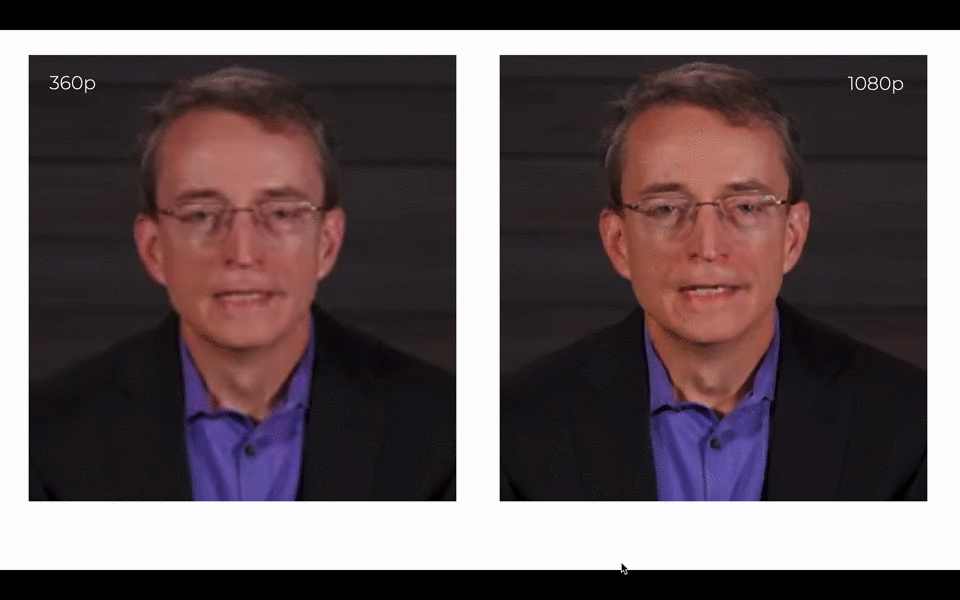
This raises an interesting question. “What is real?” We have two pictures of Intel CEO Patrick Gelsinger; one is somewhat blurry—you can’t really see his facial features clearly. Another is crisp, with detail on his bone structure and hair. The first one is a low-resolution camera’s best attempt to capture reality. The second is an AI’s best guess at what the camera missed.
Sometimes I wonder if this is real or if I’m dreaming. In the future, this will be the version of the moon landing kids remember. Is it more accurate than the original? What’s the best way to capture a moment so future viewers will have the same experience as those who recorded the images at the time?
So, how can you play around with this kind of system? Today, Intel is releasing a Jupyter notebook that we built. It allows anyone to use this code to experiment with image upscaling. Below, we’ll walk you through some of the basics of how it works and how you can experiment with it.
A brief history of imagined image enhancement
In Blade Runner, there’s a scene where Rick Deckard is trying to get information from video footage. He freezes a frame and calls out “Enhance” and a quadrant. The image zooms in on a section but suddenly comes into sharp focus. At the time, every engineer in the audience said, “No, you can’t do that.”
We always have the fantasy to create information from a vacuum. You have an image you want to make it bigger, then enhance the resolution. That's a CSI dream. But in a lower resolution image, that pixel information doesn't exist.
The best tool we had that at that time was sharpening. You could put the image in Photoshop or another image editing tool and sharpen the image. This enhances the definition of the edges in an image based on averages of the colors around it. But more often that not, it looks worse. Calling out enhance and pulling a license plate was always a joke.
But with this technology today, we are not pulling from the vacuum. We can use machine learning to find similar images in the world and reconstruct the image from there.
This technology promises better resolution video from grainy video, advances in computer vision, and yes, the ability to call out “Enhance!” and find out whose face is reflected in the mirror.
How machine learning can upscale video
To increase the density of pixels in an image or video, our software will need to understand the objects they contain. Most image recognition algorithms use a convolutional neural network (CNN) to determine features important to the objects in an image so that they can match it to known categories. For this process, we only need the features.
As shown with a sharpened image, the difficulty in upscaling a low resolution image or video comes from the places where the color changes quickly; known as high frequency details. Think the branches on a tree or words.

Our demo uses a modified version of this published algorithm. Using dense blocks of neural nets—that is, nodes that output layers that are closer to the input layer than normal—the CNN can focus its attention on those specific details. High frequency details can get lost in lower levels of normal CNNs; in the denser networks, these tiny textures are accentuated.
In the demo below, we’ll import a super resolution model, upload a low resolution image, run the model on the image to upscale, and view several different outputs comparing the new image to the original image. It’s all pre-built and ready for you to run!
Get started with our upscaling demo
The demo is contained within two Jupyter notebooks that contain all the Python code needed to upscale an image or video. You can run them locally in Jupyter, managing the requirements yourself, or you can use Intel(r) DevCloud for the Edge and skip directly to using the demo remotely without installing any additional software.
To get started locally, follow these installation instructions. Open 202-vision-superresolution-image.ipynb in Jupyter.
To get started with DevCloud, sign up for free. Once you have created your account, sign in and go to the Build page:
- Select Open Jupyter* Notebooks
Note: You may get an HTTP 400 error here. If so, you will need to clear your cache.

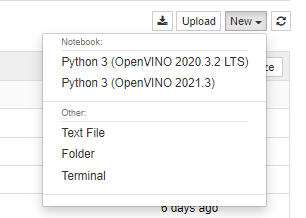
- Launch a new server.
- Click New >> Terminal.
- In the terminal, clone the OpenVINO demos with the command,
git clone https://github.com/openvinotoolkit/openvino_notebooks.git - Return to the Control Panel, then navigate to
/openvino-notebooks/notebooks/202-vision-superresolution/202-vision-superresolution-image.ipynband open the notebook.
Using the notebook
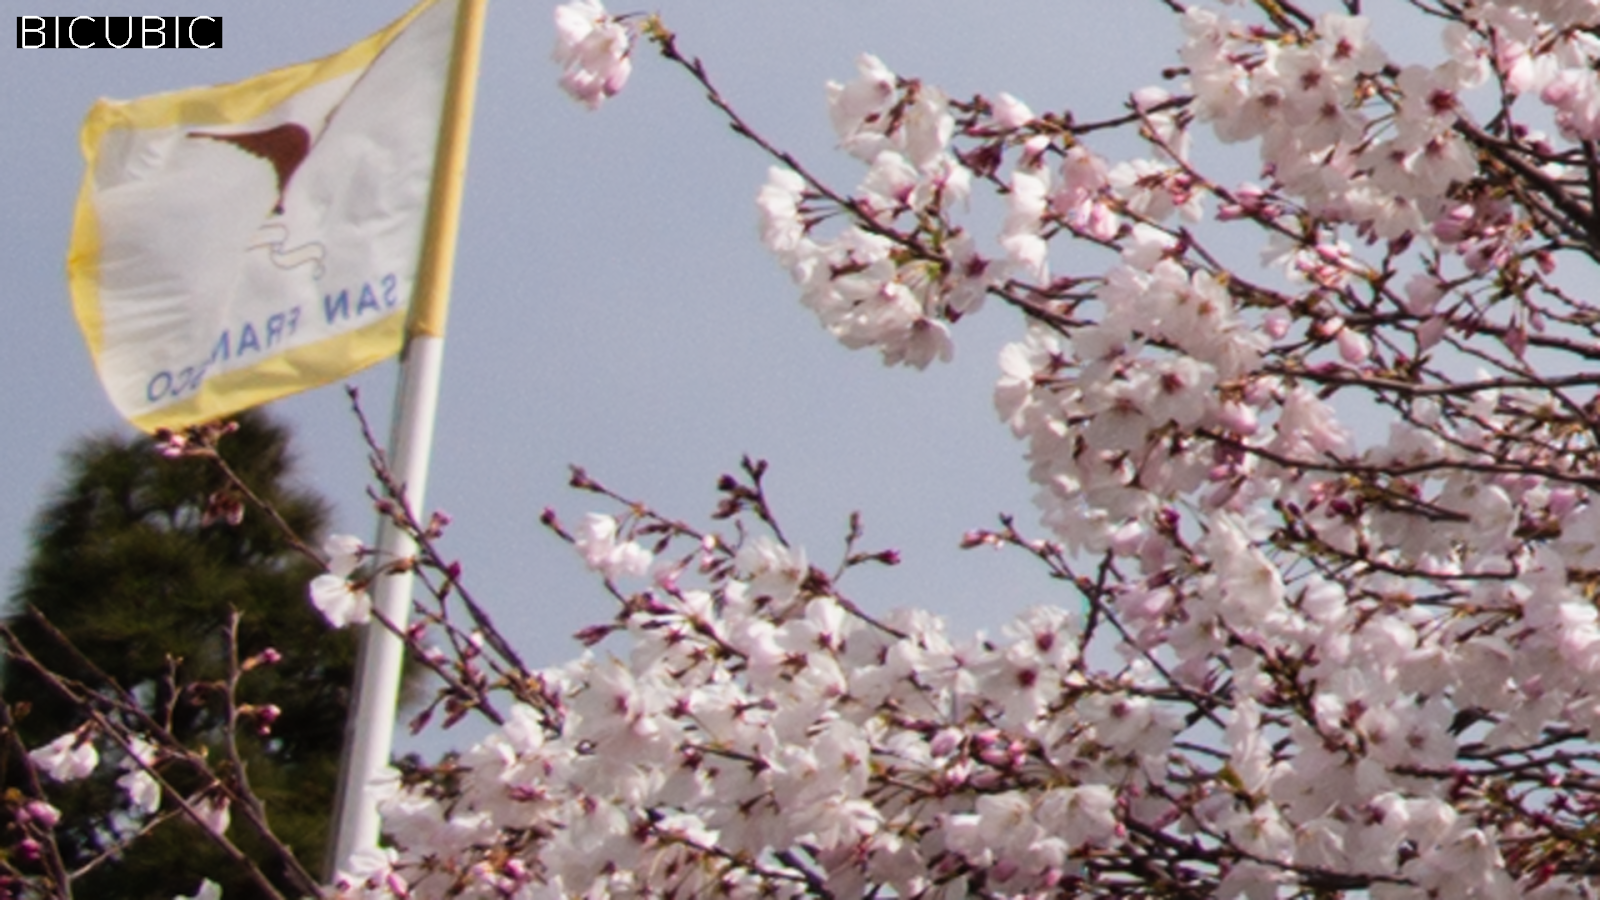
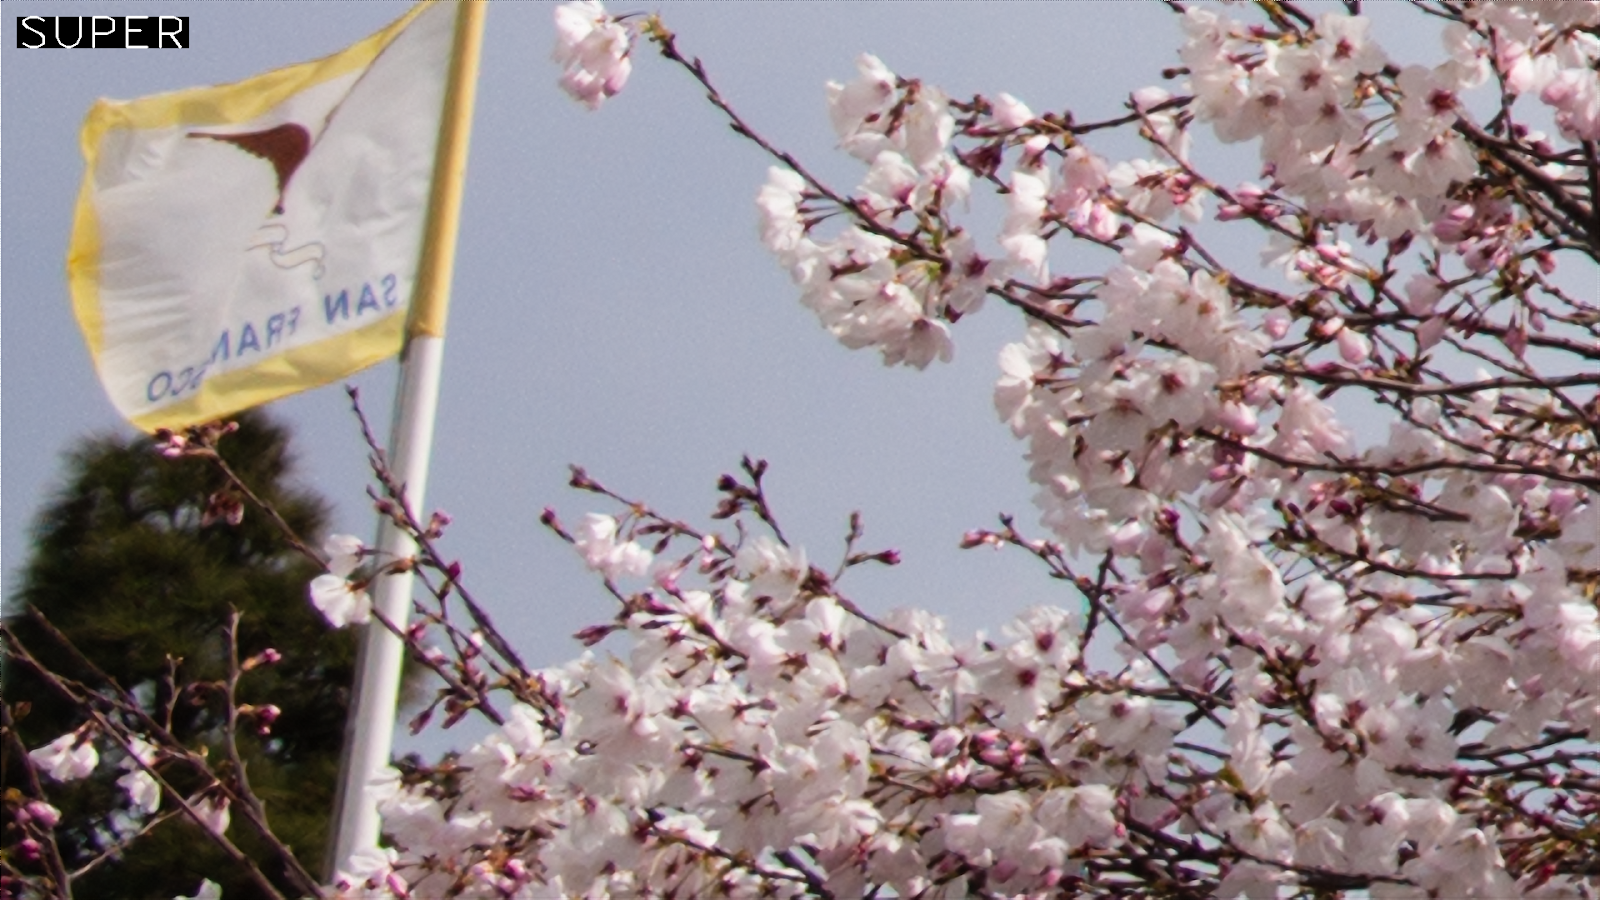
The notebook is already built and ready to run. Run the entire notebook (). You can scroll through the cells to see what each step in the model is doing. Scroll down and you’ll see a comparison between the bicubic sampling method and the superresolution method for a cropped version of the picture.


To run the model on your own image, upload an image to the images folder and change the Image Path in cell 6. You can also change the crop location by changing starty and startx variables in cell 7.
Conclusion
Super resolution upscaling puts us one step closer to enhancing details in an image; as you can see in the picture of the tower and the cherry tree above, we were able to enhance the corner well enough to read the words on the flag. But this sort of computer vision application is only as good as the model and CNN behind it, and they can sometimes do strange things. What’s exciting about the moment we live in is that the tools needed to work on projects like this, and perhaps to contribute to the next breakthrough, aren’t just available to academics in laboratories or employees at major tech companies. Anyone can start to master the basics of machine learning from home, putting them on the path to great discoveries in the future.
Intel has a suite of software tools to help continue your AI journey. From conversion and optimization using OpenVINO(™), to benchmarking and prototyping using Intel(R) DevCloud for the Edge, to working with packaged solutions ready for deployment from the Intel(r) Edge Software Hub. Read here to learn more about how you can leverage these tools, or explore them directly yourself.
Download Intel® Distribution of OpenVINO(™) Toolkit
Register for Intel® DevCloud for the Edge
Explore Intel® Edge Software Hub
The Stack Overflow blog is committed to publishing interesting articles by developers, for developers. From time to time that means working with companies that are also clients of Stack Overflow’s through our advertising, talent, or teams business. When we publish work from clients, we’ll identify it as Partner Content with tags and by including this disclaimer at the bottom.